
So been waiting on this integration for a while now and with the release of Citrix 7.9 and the integration plug-in from Nutanix were finally here.
Some thing to be aware, make sure you are on the latest NOS version 4.6.1 which is latest at time of writing, other wise you may run into some issues.
I am assuming you are all able to get your Citrix environment up to 7.9 before you get started.
Step 1
Go to http://www.nutanix.com support and services & download the Nutanix MCS Plug-In for Acropolis
Install the Nutanix plug-in on your Citrix delivery controllers
Step 2
Build you gold image that you will use for your machine catalog.
Make sure you install the 7.9 VDA.
Take a snapshot of the VM, this is very important as for studio to see the VM you need to prefix the name of the snapshot with XD_
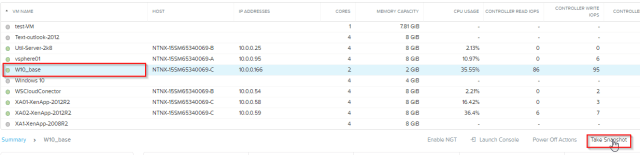
Select gold VM build
Select Take Snap Shot
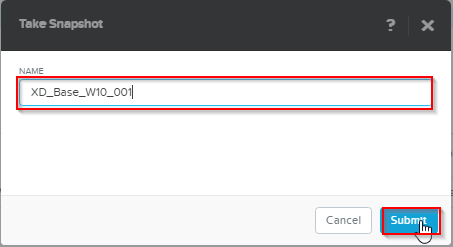
Name your snapshot make sure to start it with XD_
Select Submit
you can check your snapshots
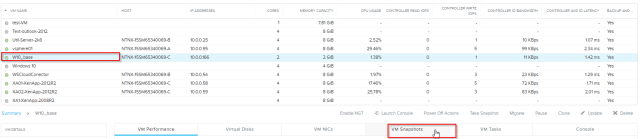
View Snapshot
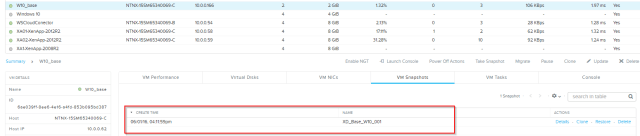
You can see the snapshot name XD_base_W10_001 which will be used as the base clone for creating our VDI’s
Step 3
Create a connection to Acropolis for Studio
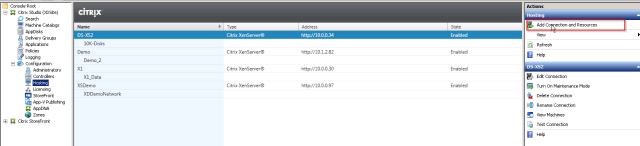
Select Hosting
Select Add new Connection
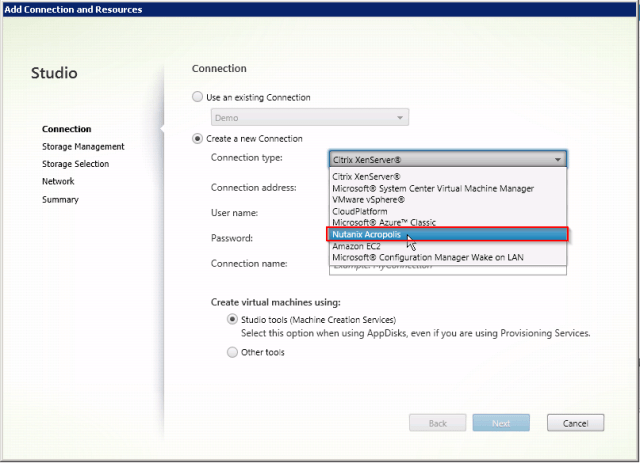
Select Create new connection
From the drop down list Select “Nutanix Acropolis”

Enter your cluster details and select Next
Leave Studio tools (Machine Creation Services) selected
Step 4
Create a machine catalog using your new connection to Acropolis and your base W10 golden image
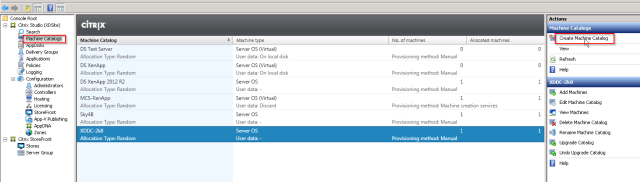
Create Machine Catalog
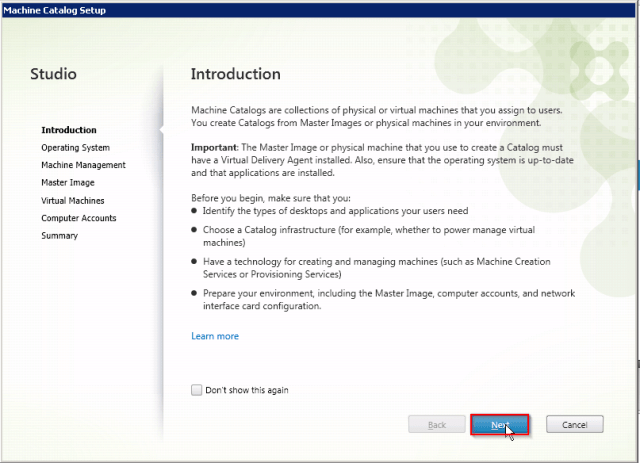
Select Next
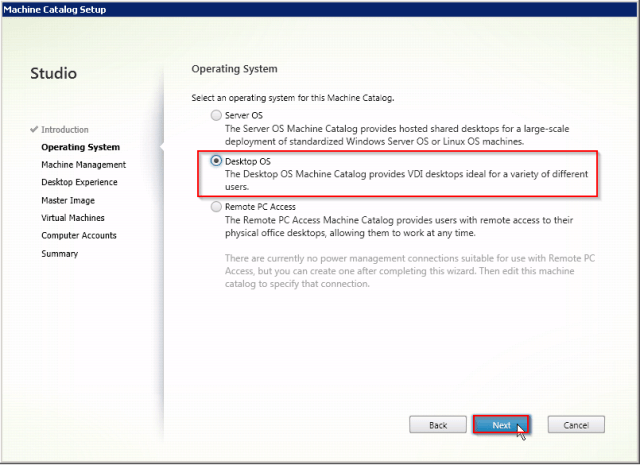
Select Desktop OS
Select Next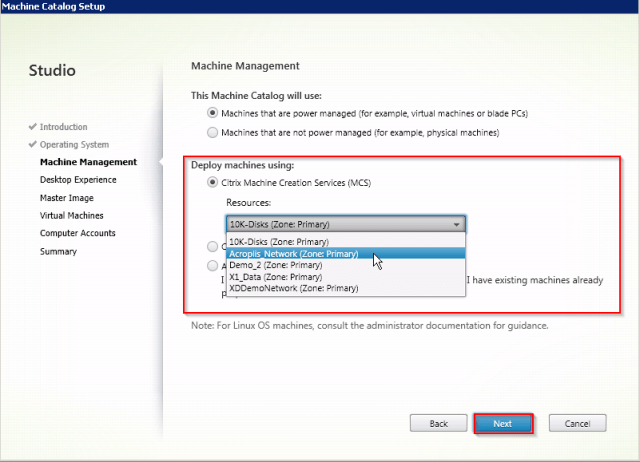
Select Resource you just create
Select Next
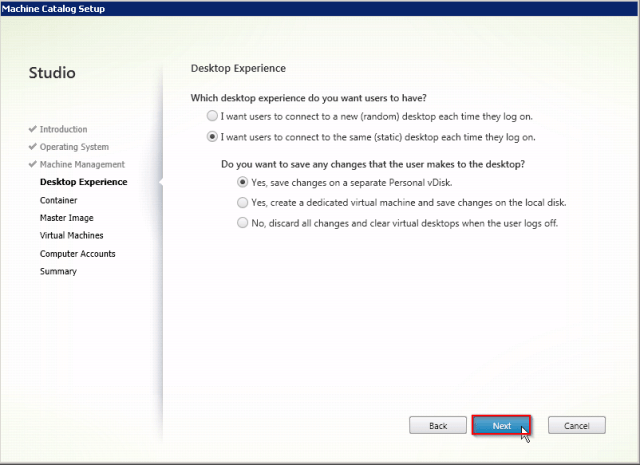
Select the type of Desktop you want to create
Select Next
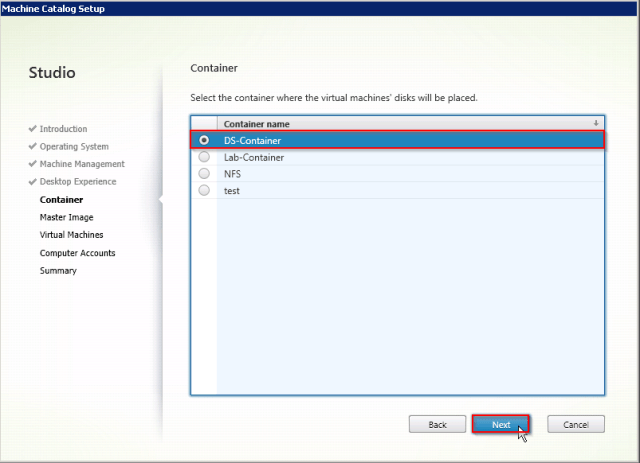
Select the Container you want to use

Select the Base image or snapshot you want to use
Note : you only see images that are prefixed with XD_
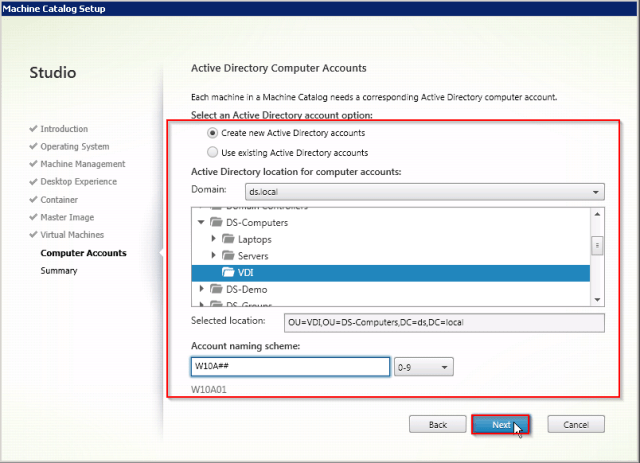
Select OU location to place VM’s
Select Next
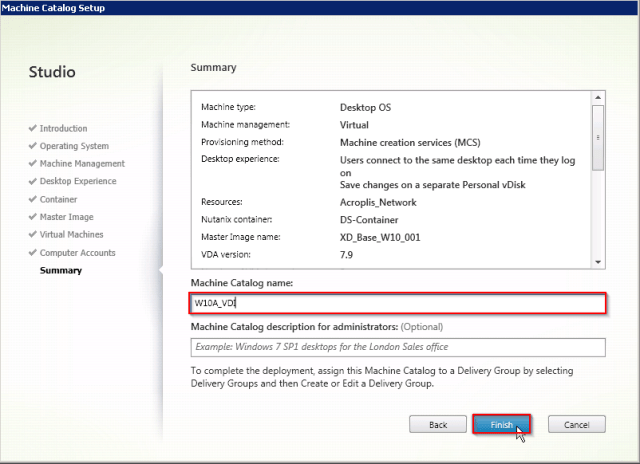
Give the Catalog a name
Select Finish
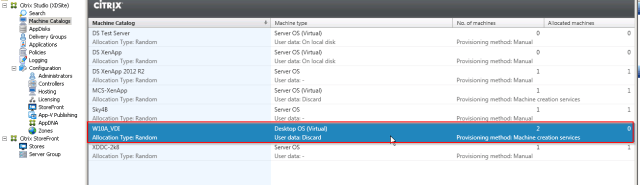
you now have your catalog
This will now go off ad start creating your VM’s on your Acropolis cluster providing you have enough resources. I have ran some initial test and with W10 VDI I am seeig 100 VM’s created in under 3 minutes.
Step 5
Create your delivery group as normal and your good to go.
