
On some occasions, I have been faced with the task of building a node without the foundation VM.
For this you will need a copy of the Hyper-Visor in my case it is usually ESXi and this is what I will concentrate on here. You will also need a copy of the Nutanix phoenix ISO which contains the version of NOS you require.
You require IPMI access to the node to carry out this process, if you do not know the IPMI IP address of if it has VLAN’s assigned you can configure it in the BIOS.
The steps involved are to install ESXi on the host and then install the Nutanix Controller VM using the phoenix ISO and configure.
When you have the IP address open a browser using the P address and log in.

Default credentials – ADMIN
password – ADMIN
This will open a connection directly to the host.

From here you want to get to a console session.
Select -> Remote Control -> Console Redirection
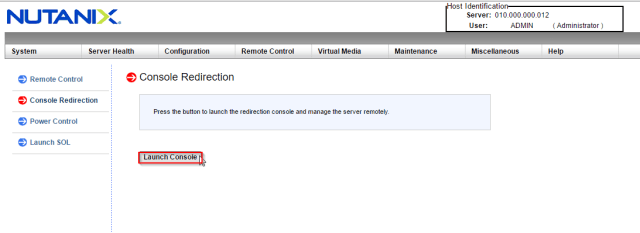
Select -> Launch Console

It is Java so Run the applet and dismiss any error messages or requests to update to the latest versions.

You then need to insert the HyperVisor ISO into the virtual drive
Select -> Virtual Media -> Virtual Storage
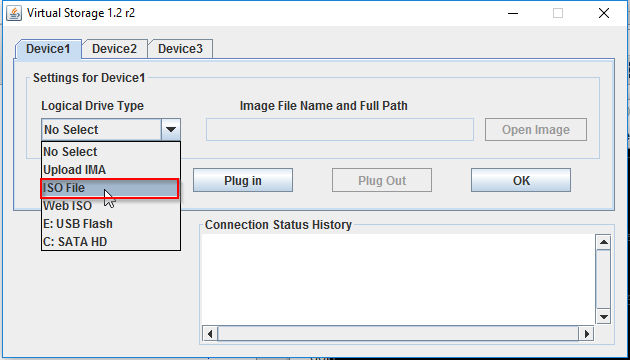
Select -> ISO File
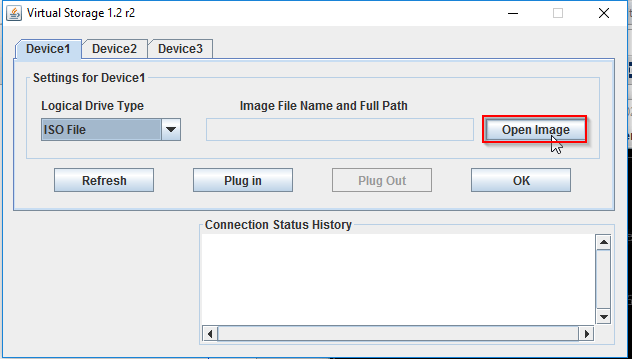
Select -> Open Image
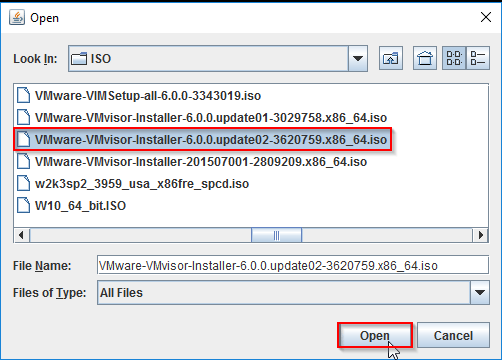
Browse to the localisation and pick up required ISO file
Select ->ISO -> Oepn

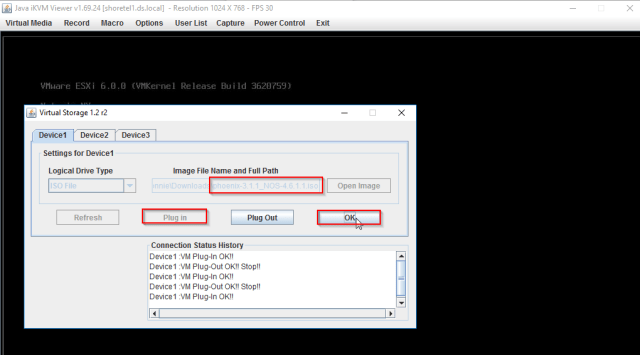
This step if vital and is easily missed – make sure you
Select -> Plug In

So you see the Connection Status as OK
Select -> OK

Restart the host to boot from the ISO to install VMWare ESXi
Select ->Power Control -> Set Power Reset

Select -> Enter

Select -> F11
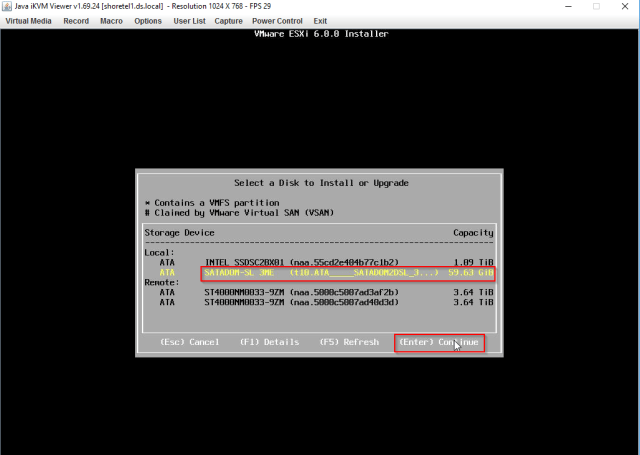
Careful here and ensure you select the SATADOM as the installation target
Select -> SATADOM -> Enter to continue

Select -> (Enter) OK

Select -> (Enter) Continue – on defaults
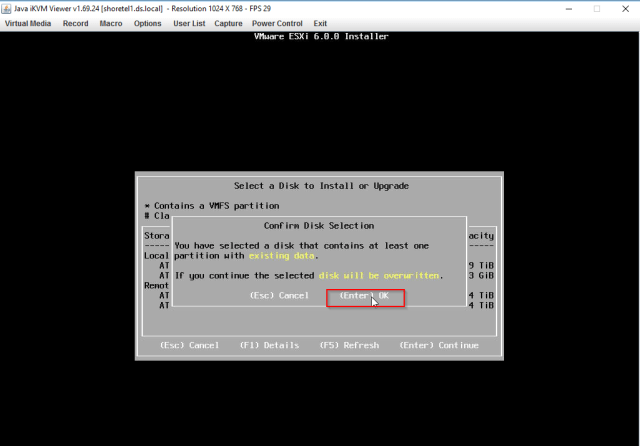
Make sure you want to wipe whatever was on this host
Select 0> (Enter) OK
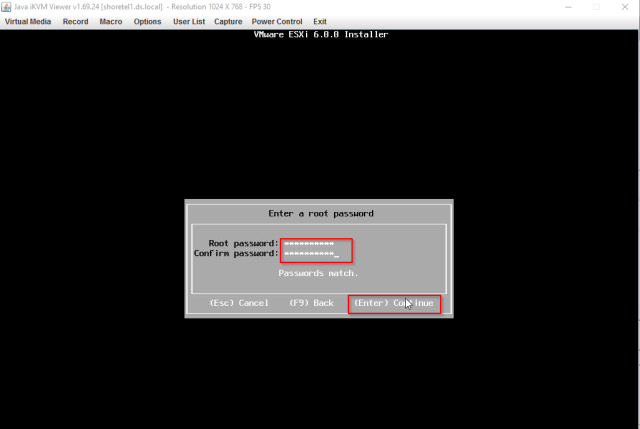
Enter root password – Ensure it’s nutanix/4u
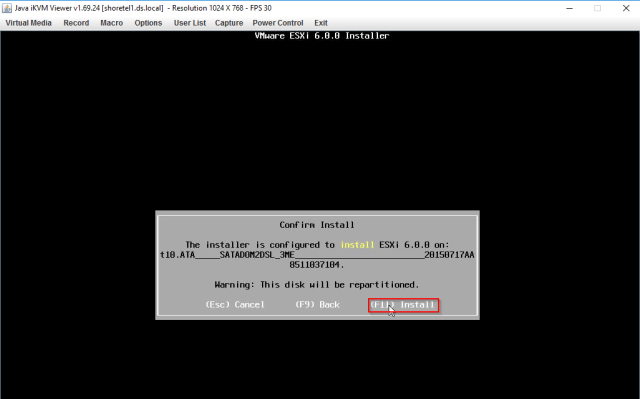
Select -> F11

You need to Eject the media from the virtual drive to stop you looping and installing all over again.
Select -> Virtual Media -> Virtual Storage-> Remove the Installation Media disc before rebooting

Select -> Plug Out

Select -> OK

Select -> Reboot
Allow host to reboot and install ESXi
Next Step is to install the Nutanix OS using the Phoenix ISO

Select -> Virtual Media -> Open Image -> Browse to the ISO
Select it as before -> Select Plug In and -> OK

Select -> Set Power Reset
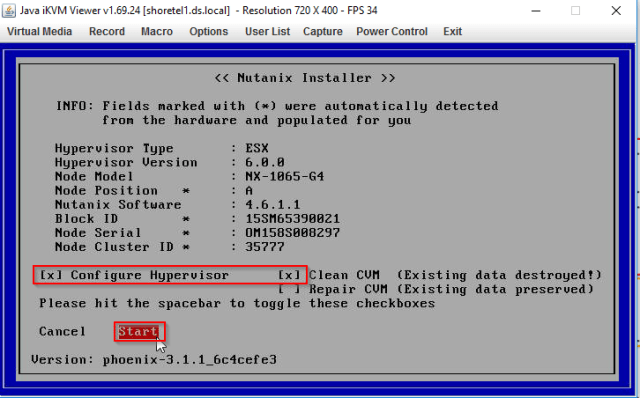
Make sure you select Configure Hyper-visor and Clean CVM
Select -> Start
This can take some time and will reboot several times as it configures the Nutanix OS and CVM integration with the Hyper-Visor

Plug out the ISO file from the virtual drive as before
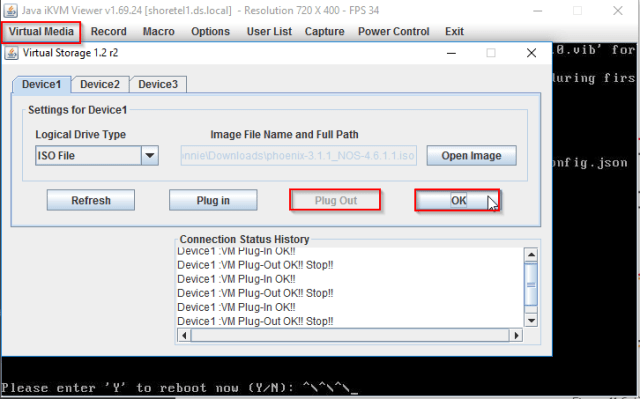
Select -> Virtual Media -> Plug Out -> OK
Select -> Y

See message above that it’s configuring – it can take a while and will reboot a few times
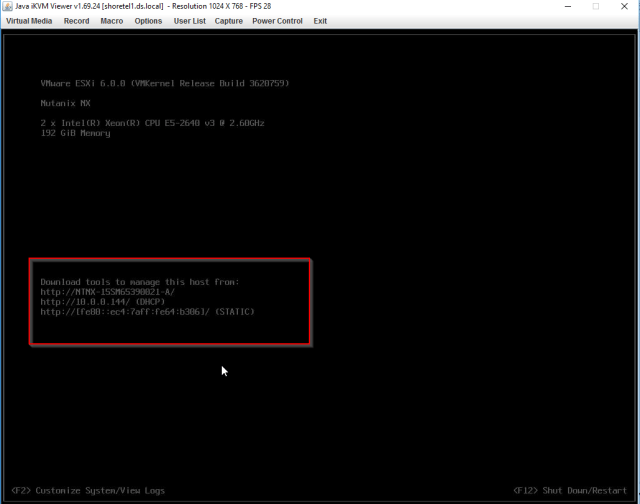
When completed it will pick up an IP from DHCP and you are good to go.
This is providing you are happy with the IP’s DCHP has dished out, if not you could use foundation applet at this stage and create the cluster and IP’s that way. Their is a way to manually re IP the CVM which may be an idea for another blog post. Obviously you can change the IP on the ESXi host easily as you would any other ESXi host.

I have a problem, when i was configuring the phoenix it gave me this message:
“” FATAL: An exception was raised: Traceback (most recent call last):
File “./phoenix”, line 93, in
main()
File “./phoenix”, line 77, in main
params = gui.get_params(gui.Gui)
File “./phoenix”, line 1265, in get_params
return run_gui(guitype)
File “./phoenix”, line 1283, in run_gui
params = get_params_from_gui(gui)
File “./phoenix”, line 1122, in get_params_from_gui
“%s/%s/*.tar*” % (SVM_VERSIONS, gp.p_list.svm_version))[0]
IndexError: list index out of range “”
if you can help me ill be so thankful.
Thank you!
LikeLike
I would be happy if you make a blog post about configure host and CVM ip manually after reimaging through phoenix.
Thanks,
Nicola
LikeLike
Hi Nicola, I have some notes on it I will try and write a quick post on Re – IP CVM
LikeLike
That would be great, thank you!
LikeLike